

On Sunday, November 1, the clocks fall back an hour. The next evening, sunset in Walpole comes around 4:30 pm, which means residents, tenants, and visitors will be walking your property in the dark at the busiest time of day. This property lighting safety checklist takes about 15 minutes and helps you find the problems now, before the first icy night turns a dark path into a liability.
Most lighting problems aren’t visible during a midday inspection. A burned-out bulb, a fixture swallowed by a summer’s worth of shrub growth, or a dim stretch between two parking lot poles only shows up after dark. That’s why the best time to walk your property is at dusk, this week.
Why the clock change matters for property managers
For most of the year, the evening commute happens in daylight. After November 1, it happens in the dark. People are carrying groceries, checking their phones, and hurrying to get inside. They’re paying less attention to the ground than they would at noon.
At the same time, New England conditions turn against you. Wet leaves cover walkways in November. Frost and black ice arrive soon after. Snowbanks pile up beside paths and can block low fixtures entirely. A walkway that felt perfectly safe in September can feel very different at 5 pm in December.
Good lighting doesn’t fix everything, but it gives people the chance to see a hazard before they reach it. The Illuminating Engineering Society publishes recommended light levels for walkways, parking areas, and building entrances. Those standards exist because visibility is one of the simplest ways to reduce trips and falls. OSHA’s walking-working surfaces guidance also treats lighting as part of keeping walkways safe.
How to use this property lighting safety checklist
Pick an evening this week and start your walk about 20 to 30 minutes after sunset. Bring your phone for photos and notes. Walk the routes people actually use, not just the official paths. Worn grass shortcuts tell you where people really go.
For each item on the property lighting safety checklist that fails, take a photo and note the location. You’ll use that list to prioritize repairs and to show owners or board members what needs attention.
Spot 1: Building entrances and doorways
Entrances get the most foot traffic, so start your property lighting safety checklist there. Every door people use after dark should be clearly lit, including side doors, mailroom entrances, and doors to trash and recycling areas.
Look for:
- Burned-out or flickering bulbs in wall lanterns and overhead fixtures
- Light that falls on the wall but not on the step or threshold
- Glare that blinds people walking toward the door, which can be as bad as darkness
- Plantings around the entrance that have grown up and cast shadows across the doorway
- Address numbers and building signs that are hard to read at night, a problem for delivery drivers and emergency responders
A well-lit entrance also tells visitors the property is cared for. It’s one of the first things a prospective tenant notices on an evening showing.
Spot 2: Walkways and paths
Walkways are where most nighttime trips happen. Walk each path slowly and watch for dark gaps between fixtures. Path lights should overlap enough that you never step into a pool of darkness.
Check for:
- Path lights buried under leaves, mulch, or spreading groundcover
- Fixtures knocked crooked by mowers, snow plows, or foot traffic
- Heaved or cracked pavers and uneven slabs that cast shadows and catch toes
- Wet leaf buildup on stone or concrete, which is slippery and hides edges
- Shortcuts across lawns or planting beds that people use in the dark because the lit path takes longer
If you find a popular shortcut, don’t just put up a sign. It usually means the path layout doesn’t match how people move. Sometimes the real fix is a new walkway with lighting where people already walk.
Spot 3: Parking areas and transitions
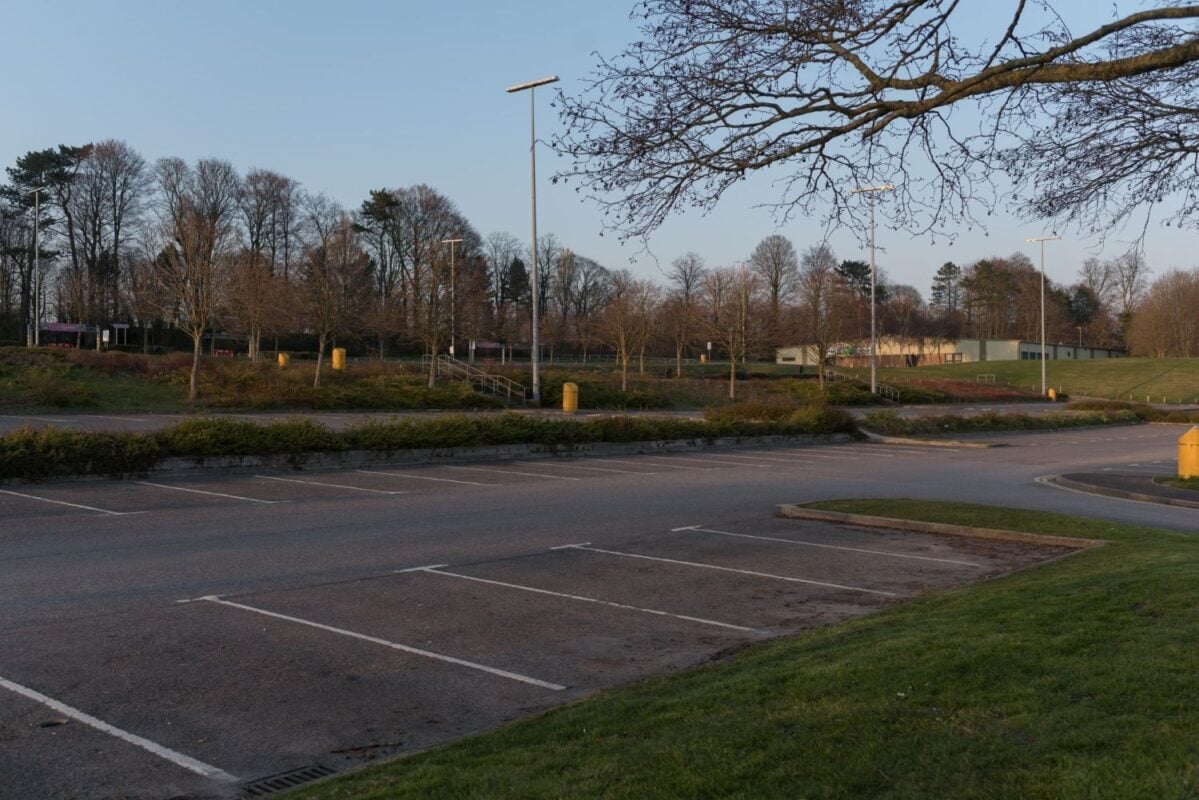
Parking lots are big, open, and often lit by a few tall poles. The weak points are usually the transitions: the stretch between the car and the sidewalk, the curb cut, and the path from the lot to the door.
Look for:
- Dark zones between poles, especially at the far ends of the lot
- Curbs, wheel stops, and islands that disappear in low light
- Islands where trees and shrubs have grown into the light from overhead fixtures
- Faded paint on curbs and crosswalks
- Dumpster areas and back lots that tenants use but nobody checks
Stand where a resident would park at 5:30 pm and walk to the door. If you can’t clearly see the curb before you reach it, neither can they.
Spot 4: Stairs, steps, and grade changes
Any change in level is a fall risk after dark. That includes front steps, single steps at doorways, retaining wall stairs, ramps, and slopes on walkways.
Check for:
- Steps where the edge of each tread isn’t clearly visible
- Handrails in shadow or partly hidden by plantings
- Single steps, which people often don’t expect and miss entirely
- Loose stones or caps on stone stairs and walls
- Ramps and slopes where water collects and freezes
Step lights built into stairs or nearby walls are one of the most effective upgrades you can make. They light the tread itself, not the air above it.
The landscape problem hiding in plain sight
On many properties, the lighting isn’t broken. The landscape grew over it. Shrubs planted beside path lights years ago are now covering them. Tree canopies have spread under parking lot poles. Hedges along a walkway now block the light from the building and create hiding spots.
That’s why any property lighting safety checklist should include plantings. While you walk, note every place where a shrub, tree, or hedge blocks a fixture or a clear line of sight. Safety-focused pruning is often the fastest and cheapest improvement you can make, and it can be done before snow season.
What to do with your findings
When you finish your property lighting safety checklist walk, sort what you found into three groups:
- Fix this week: burned-out bulbs, buried path lights, blocked fixtures, and any obvious trip hazard
- Fix before snow: pruning, damaged fixtures, heaved pavers, and loose stair stones
- Plan for spring: new lighting where there’s none, walkway changes, and upgrades to efficient LED fixtures
Share the photos with owners or your board. A picture of a dark stairway at 5 pm makes a stronger case for a budget line than any written report.
When upgrading, consider shielded, downward-facing fixtures. They put light on the ground where people need it and cut glare and light spill toward neighbors.
Property lighting safety checklist FAQ
How do I check my property’s outdoor lighting for safety? Walk the property 20 to 30 minutes after sunset and follow the routes people really use. Check entrances, walkways, parking areas, and stairs for dark gaps, burned-out bulbs, glare, and fixtures blocked by plants. Photograph each problem and note its location so you can prioritize repairs.
When should property managers inspect exterior lighting? Inspect exterior lighting at least twice a year: once in late October, before the clocks change, and once in spring. Add a quick check after major storms, after snow season, and after any landscape work, since mowers and plows often damage low fixtures.
Can overgrown shrubs make a property less safe at night? Yes. Overgrown shrubs and trees can block path lights and pole lights, create dark zones, and give people places to hide near walkways and entrances. Pruning plants that block fixtures or sightlines is often the fastest and least expensive way to improve nighttime safety.
How often should commercial landscape lighting be serviced? Most commercial landscape lighting benefits from a professional check once or twice a year. A service visit typically covers cleaning lenses, replacing failed bulbs, adjusting fixtures knocked out of position, checking timers, and inspecting wiring. Older halogen systems often need more frequent attention than LED systems.
Tell us your site and your target start date, and we’ll map a realistic design and approval timeline with you. Contact Us | Boston Landscaping | Land Design Associates | 781.973.5102