

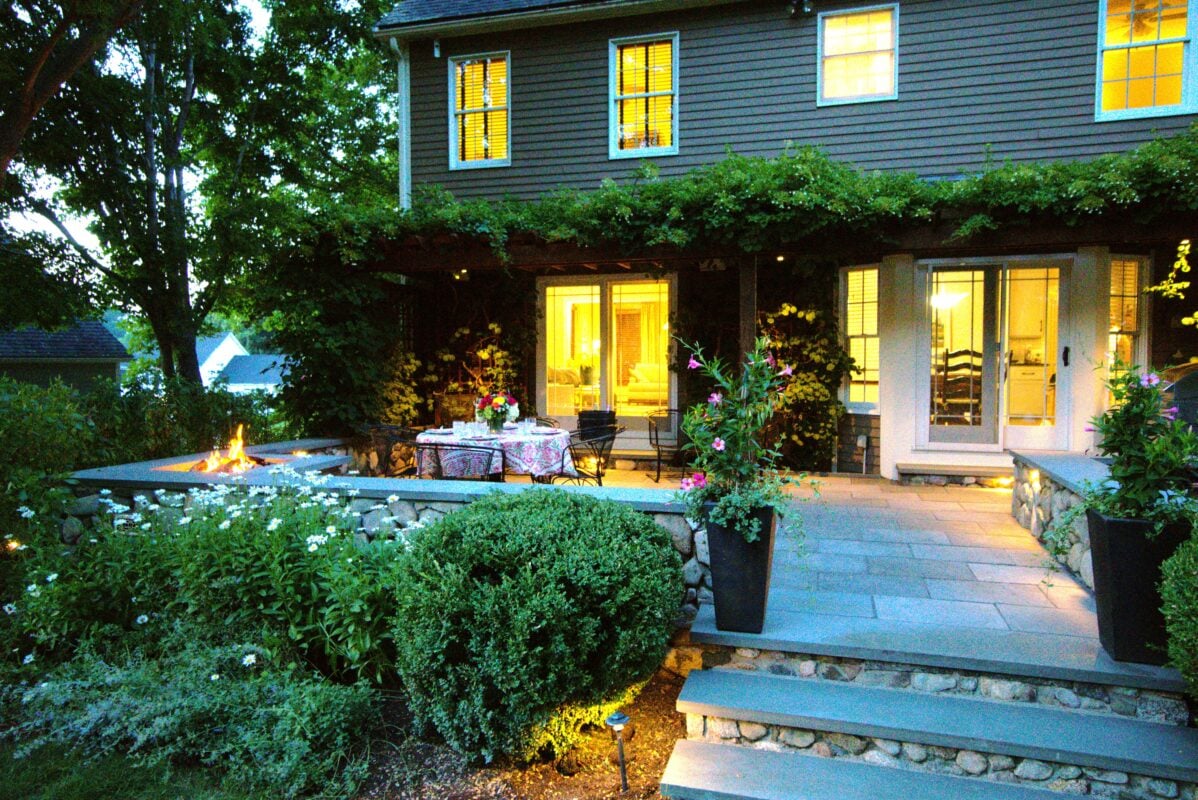
The landscape design process typically moves through six phases — consultation, site assessment, concept design, design development, proposal and permitting, and installation oversight — and takes anywhere from four to twelve weeks before construction begins, depending on project scope and town approvals.
If you’ve never worked with a professional landscape design firm before, the process can feel like a black box. You know you want your yard to look and function better — but what actually happens between “we should call someone” and “the crew is here installing plants”? At Land Design Associates, we walk every Massachusetts homeowner through the same structured process, and this guide breaks down exactly what happens at each stage, how long it takes, and what we need from you along the way.
This matters more in Massachusetts than in a lot of other states. Between wetlands protection rules, conservation commission review in coastal and stream-adjacent towns, and the practical challenges of designing around clay-heavy soil and a genuine four-season climate, a design that looks good on a national landscaping blog doesn’t always survive contact with a Norfolk County lot or a South Shore winter. The process below is built around those realities, not around a generic national template.
Phase 1: Initial Consultation (Week 1)
Every project starts with a conversation, not a sales pitch. We ask about how you actually use your outdoor space, what’s frustrating you about it now, your rough budget range, and your timeline — whether you’re planning for next spring or trying to get something usable before a summer of hosting.
What happens
A 30–60 minute conversation, either on-site or by phone, covering your goals, existing pain points (drainage, privacy, an awkward slope), and general budget expectations. We’re honest early about whether your goals and budget are realistic together — that’s more useful to you than a rosy pitch that falls apart later.
This is also when the designer-versus-architect question tends to come up, and it’s worth addressing directly: Land Design Associates is a professional landscape design firm, not a licensed landscape architecture practice. That distinction matters for certain municipal permitting and stamped-drawing requirements, and we’ll tell you plainly if your project needs an RLA’s stamp — most residential projects in Massachusetts don’t, but some commercial work and certain wetland-adjacent properties do.
Phase 2: Site Assessment & Measurements (Weeks 1–2)
We visit the property to measure the site, photograph existing conditions, note sun exposure and drainage patterns, check soil composition, and identify any grading challenges. In Massachusetts, this is also when we flag anything that might trigger wetlands, conservation commission, or setback review — especially relevant for coastal towns like Cohasset, Hingham, and Duxbury, and for properties near protected buffer zones.
We also pull existing property surveys or plot plans if you have them, since starting from an accurate base plan saves rework later. If no survey exists, we’ll note where a licensed survey may be required before permitting — this is common on older Norfolk County lots where boundary records are incomplete.
Phase 3: Concept Design (Weeks 2–4)
What happens
This is where your project starts to take visual shape. We develop one or two conceptual layouts showing spatial organization — where a patio, planting beds, walkways, or an outdoor kitchen might go — along with a rough materials and style direction. Concepts are intentionally loose at this stage; the goal is agreeing on the big moves before investing in detailed drawings.
Expect a working session where we walk through the concept together, and it’s completely normal to ask for a second direction if the first doesn’t feel right. Better to redirect here than after design development is complete.
Phase 4: Design Development (Weeks 4–7)
What happens
The approved concept becomes a detailed design plan: precise measurements, plant selections (typically drawing from native and climate-adapted New England species suited to your site’s hardiness zone), hardscape material choices, lighting layout, and grading and drainage solutions. This is the plan set that gets used for pricing, permitting, and, eventually, construction.
| Design deliverable | What it shows |
|---|---|
| Site plan | Scaled layout of all hardscape, planting beds, and structures |
| Planting plan | Species, quantities, and placement, matched to Massachusetts hardiness zones |
| Grading & drainage plan | Water flow management, especially critical on sloped or clay-heavy lots |
| Materials & lighting plan | Hardscape material selections, fixture types, and lighting zones |
Phase 5: Proposal, Investment & Permitting (Weeks 6–9)
What happens
With the design finalized, we put together a detailed proposal covering scope, materials, and investment. If you’re weighing overall project cost ranges before you get to this stage, our Massachusetts landscaping cost guide breaks down typical price ranges by project type. This phase is also when we handle or coordinate any required municipal permitting — conservation commission review, building permits for structures, or setback variances — which varies significantly by town.
Phase 6: Installation Oversight
What happens
Once permitting clears and materials are ordered, installation begins. As the design firm, we stay involved through construction — reviewing that plant placement, grading, and hardscape execution match the approved plan, and solving the small field adjustments that come up on any real job site. Timelines here depend heavily on project scope: a planting refresh might take days, while a full outdoor living renovation with hardscape, lighting, and planting can run several weeks.
Why a Design-First Process Matters
It’s tempting to skip straight to hiring an installation crew, especially for a smaller project. But a design-first process solves problems on paper that are expensive to fix once they’re in the ground. Grading mistakes that send water toward a foundation, a patio sized wrong for the furniture you actually own, or plantings that outgrow their space in five years are all far cheaper to catch in Phase 3 or 4 than after installation. This is the core value a professional landscape design firm adds beyond installation alone: sequencing decisions in the right order, at the right time, before money is committed to materials and labor.
It also protects you administratively. A completed design plan is what most Massachusetts building departments and conservation commissions want to see before they’ll issue a permit — showing up with a verbal idea and a contractor’s estimate usually isn’t enough for anything beyond the simplest planting project.
Five Questions Worth Asking During Your Consultation
Will this project need any town permits or conservation review, and roughly how long does that typically add?
Do you handle both design and installation, or just design — and if just design, who executes the plan?
What’s a realistic budget range for the scope I’m describing, even roughly?
How many concept revisions are included before additional design fees apply?
Who stays involved once installation starts, and how are on-site adjustments handled?
A firm that answers these plainly, including the uncomfortable parts (yes, permitting will add time; no, your budget isn’t quite realistic for that scope) is one that’s going to manage your project honestly the rest of the way through.
Common Mistakes Homeowners Make Starting the Process
Skipping the site assessment to save time
Rushing past a proper site assessment to get to “the fun part” — the concept design — is the single most common cause of expensive mid-project changes. Drainage patterns, soil composition, and underground utilities aren’t visible from a quick walk-through, and missing them at this stage means redesigning later.
Assuming design and installation are the same conversation
Some homeowners expect a single meeting to produce a finished plan and a start date. In reality, a thoughtful design phase protects the installation phase — the extra weeks up front typically prevent far larger delays and costs once crews are on-site.
Not asking about permitting until the proposal stage
Waiting until the proposal is in hand to ask “will I need a permit for this?” is too late to plan around town review timelines without pushing back your installation window. Raising it during the site assessment, as outlined above, keeps the whole schedule realistic from the start.
Typical Timeline at a Glance
| Phase | Typical Duration |
|---|---|
| Initial consultation | 1 week |
| Site assessment & measurements | 1–2 weeks |
| Concept design | 2–3 weeks |
| Design development | 2–4 weeks |
| Proposal & permitting | 2–6 weeks (varies by town) |
| Installation | Days to several weeks, depending on scope |
Most residential projects reach a permit-ready design plan within 6–9 weeks of the first phone call. Projects requiring conservation commission review, common near coastal and wetland-adjacent properties in towns like Hingham, Duxbury, and Scituate, should plan for the longer end of that range.
Start with a design consultation:
https://landdesignassociates.com/design-build-form/
Or explore our work here:
https://landdesignassociates.com/featured-projects/