

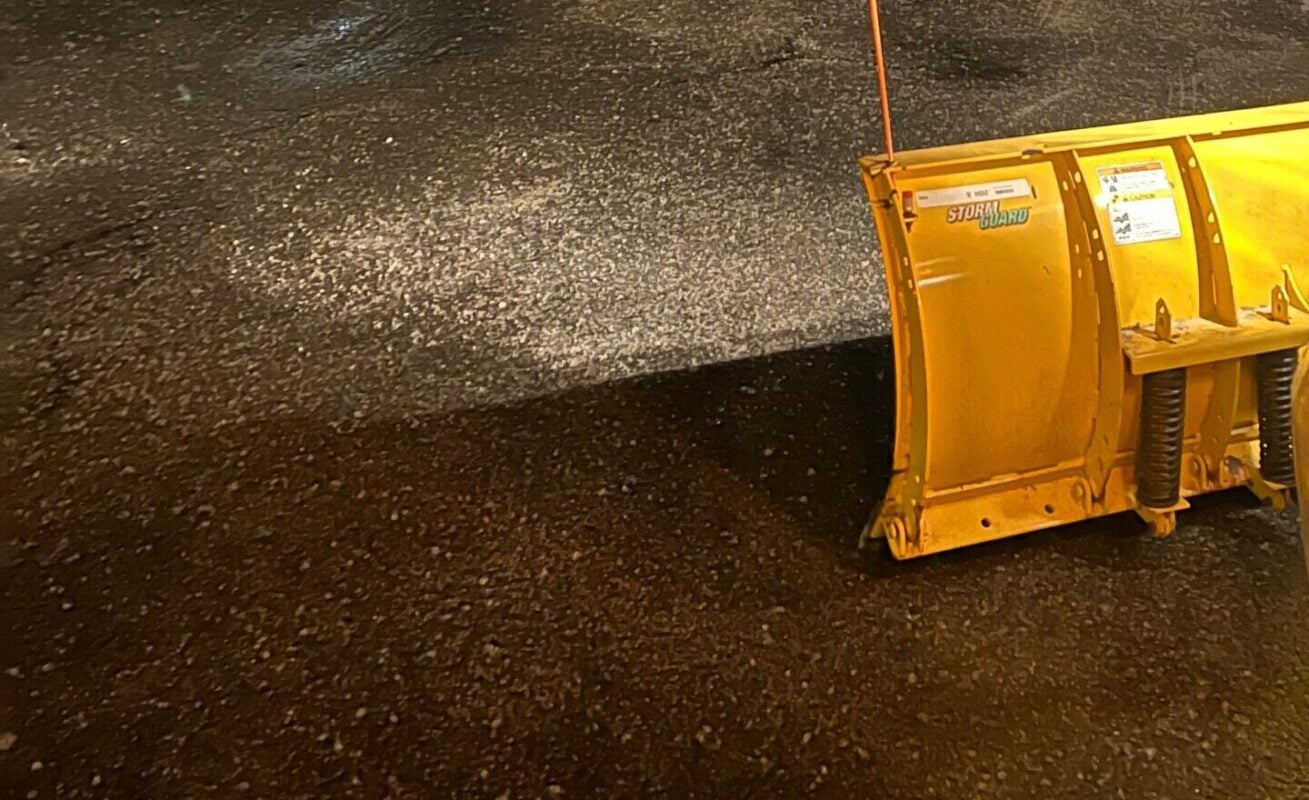
If you manage a commercial property in Walpole or anywhere in Norfolk County, the time to prepare your parking lot for winter is before the first flake falls. The worst time to find a hidden curb is at 3 a.m., when a plow truck catches it. A few hours of work in October and early November prevents cracked pavement, broken islands, flooded drive lanes, and slip-and-fall claims once storms start rolling through.
This guide covers the seven steps we recommend to every commercial client before the plowing season begins. They include marking curbs and islands with snow stakes, repairing potholes before plows hit them, and planning exactly where the snow will go.
Why You Should Prepare Your Parking Lot for Winter in the Fall
New England winters are hard on asphalt. Water seeps into small cracks, freezes, expands, and thaws again, sometimes several times in a single week. Each cycle pries the pavement apart a little more. By March, a hairline crack from October can become a pothole big enough to damage a tire.
Plowing makes this worse. A steel plow blade moving at speed will catch any raised edge, loose patch, or unmarked obstacle. Every spring, the damage a property manager discovers usually traces back to something that was visible, and fixable, in the fall.
There’s also a practical deadline. Most asphalt plants in Massachusetts stop producing hot mix as temperatures drop in late fall. Crack sealants also need dry pavement and mild temperatures to bond properly. Wait too long and your only option is a temporary cold patch.
Step 1: Walk the Lot and Document Its Condition
Start with a full walk-through on a dry day. Bring your phone and photograph everything:
- Potholes, cracks, and crumbling edges
- Curbs, islands, and speed bumps
- Catch basins and storm drains
- Light pole bases, bollards, and signs
- Fire hydrants and fire lanes
- Accessible (ADA) parking spaces and ramps
- Landscaped areas and trees near the pavement edge
These photos serve two purposes. First, they become your repair list. Second, they create a dated record of the lot’s condition before plowing starts. If a curb gets damaged in January, you’ll have evidence of what it looked like in October, which makes conversations with your snow contractor much simpler.
Step 2: Repair Potholes and Seal Cracks Before the First Plow
Potholes and open cracks are the biggest pre-winter risk on most lots. A plow blade hitting a pothole edge can tear the hole wider, damage the blade, and jolt the truck. Meanwhile, water pooling in the hole freezes into an ice patch that pedestrians can’t see.
Fill potholes with hot mix asphalt while plants are still open. A properly compacted hot-mix repair will hold up to plowing far better than cold patch. Cold patch has its place for emergency winter repairs, but it tends to loosen under plow traffic.
Seal cracks wider than about a quarter inch. Crack sealing keeps water out of the base layer, which is where freeze-thaw damage really starts. It’s one of the least expensive ways to extend pavement life.
Fix raised or broken edges. Heaved sections, broken curb faces, and lifted manhole frames all catch plow blades. Grind, reset, or repair them now.
If your lot needs more than spot repairs, like widespread alligator cracking or large failed sections, get a quote early. Paving crews book up fast in the fall.
Step 3: Mark Curbs, Islands, and Hazards With Snow Stakes
Once a foot of snow covers your lot, your plow operator can’t see a single curb, island, or drain. Snow stakes, the tall fiberglass or plastic markers with reflective tops, show them exactly where the edges are.
Where to place snow stakes:
- Along the edges of every landscaped island
- At curb corners and along curbed drive lanes
- Beside fire hydrants, so they stay visible and accessible
- Next to catch basins and storm drains
- At light pole bases, bollards, and sign posts
- Along sidewalk edges and walkway borders
- At the corners of accessible parking spaces
- Near any shrubs, lawn edges, or trees you want protected from plow damage
Install them before the ground freezes. Once the soil is frozen solid, driving stakes becomes difficult, and stakes pushed into snowbanks tend to fall over. Aim to have them in by mid-to-late November.
Use enough of them. A common mistake is placing stakes only at island corners. Along a long curb, space them close enough that an operator can read the line of the edge in a whiteout, not just guess between two distant points.
Snow stakes are cheap. A replacement curb or a torn-up landscaped island is not.
Step 4: Plan Where the Snow Will Go
Every lot needs a snow storage plan before the first storm. Without one, snow gets pushed wherever it’s convenient at 4 a.m., and you end up with piles that block sight lines, bury drains, and eat into parking spaces for weeks.
Good places to pile snow:
- On the downhill side of the lot, so meltwater drains away from the pavement you use
- In low-traffic corners or overflow parking areas you can afford to lose until spring
- On paved areas that drain toward a working catch basin, but not directly on top of it
Places to avoid:
- On top of storm drains or catch basins, since melting snow will have nowhere to go and will refreeze across the lot
- In accessible parking spaces, access aisles, or curb ramps
- Against building walls, doorways, or emergency exits
- In fire lanes or near hydrants
- At lot entrances and exits, where tall piles block drivers’ view of traffic and pedestrians
- On lawns, shrubs, and tree beds, where salt-laden snow can damage plants and soil
- Near wetlands or waterways. Massachusetts has specific guidance on snow disposal near resource areas, so check it if your property borders one.
For smaller lots with little storage room, plan ahead for snow relocation. That means loading and hauling snow off-site after major storms. Agree on the trigger point (for example, after a storm that puts down more than a certain depth) in your contract, not in the middle of a blizzard.
Mark your approved pile locations on a simple site map and share it with your snow contractor. It removes the guesswork for every operator, including substitutes on overnight shifts.
Step 5: Clear Drains and Catch Basins
A clogged catch basin in December becomes an ice rink in January. Fall leaves, sand, and debris collect in drains all autumn, and meltwater with nowhere to go spreads out and refreezes overnight.
Have catch basins cleaned out in late fall, after most leaves have dropped. Check that grates are secure and level with the pavement so plows don’t catch them. This step is easy to skip and one of the most common causes of recurring ice patches.
Step 6: Build Your Ice Management Plan
Plowing clears snow. It doesn’t make a lot safe. Ice is what causes most slip-and-fall incidents, so decide in advance:
- Which areas get priority treatment, such as entrances, walkways, accessible spaces, and ramps
- What materials will be used, such as rock salt, treated salt, or sand, and where salt-sensitive areas like plantings or new concrete need alternatives
- When treatment happens, whether that’s pre-treating before storms, during events, or after refreeze overnight
- Who is responsible for sidewalks versus the parking surface itself
Write it down. A clear, documented ice management plan protects your property and your liability position.
Step 7: Lock In Your Snow Removal Contract Early
The best snow contractors fill their routes in the fall. If you’re still looking for a plow provider in December, your options will be limited.
When comparing contracts, look closely at:
- Trigger depth, meaning how many inches before plowing begins
- Pricing structure, whether per push, per event, or seasonal
- Response times and clearing priorities for storms that hit overnight
- Ice management, including whether it’s included or billed separately
- Snow relocation, including whether hauling is available and how it’s priced
- Damage policy, meaning how curb, turf, or pavement damage is handled
- Insurance coverage and certificates
A contractor who asks about your snow stake layout and pile locations during the quote is one who plans ahead.
Parking Lot Winter Prep Checklist
- ☐ Walk the lot and photograph existing conditions
- ☐ Repair potholes with hot mix before plants close
- ☐ Seal cracks and fix raised edges
- ☐ Install snow stakes along curbs, islands, drains, and hydrants
- ☐ Map approved snow pile locations
- ☐ Clean out catch basins and storm drains
- ☐ Write an ice management plan
- ☐ Sign your snow removal contract
Frequently Asked Questions
[Build this section with the Rank Math FAQ block]
When should I prepare my parking lot for winter?
Start in October. Pavement repairs should be done while asphalt plants are still producing hot mix and temperatures are mild enough for crack sealing. Snow stakes should go in before the ground freezes, usually by mid-to-late November in eastern Massachusetts.
How far apart should snow stakes be placed?
Space stakes close enough that a plow operator can clearly follow the line of a curb or island edge in poor visibility. Always mark corners, then add stakes along straight runs. Longer, curved, or high-risk edges need tighter spacing.
Where should snow be piled in a parking lot?
Pile snow on the downhill side of the lot, in low-traffic or overflow areas, away from drains, building entrances, fire lanes, accessible spaces, and lot exits. Avoid landscaped areas where salt can damage plants.
Should potholes be fixed before winter?
Yes. Plows can tear open pothole edges, and water trapped in potholes freezes into hidden ice. Hot-mix repairs made in the fall hold up to plowing much better than cold-patch repairs made in winter.
Get Your Walpole Parking Lot Ready Before the First Storm
Land Design Associates helps commercial property owners across Walpole and the surrounding towns prepare their parking lots for winter. That includes snow stake installation, site planning, and dependable commercial snow removal all season long. [Link: snow removal service page]
Contact us today Responsive Snow Removal for Commercial & HOA Properties | LDA to schedule a pre-season site walk and lock in your spot for the 2026–2027 winter.